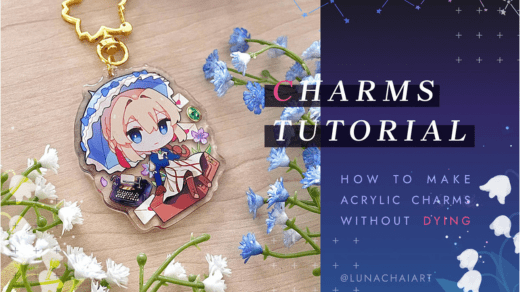
Creating acrylic charms at home can be a fun and creative project. Acrylic charms are popular for decorating bags, keychains, and other accessories. Here’s a step-by-step guide on how to make acrylic charms at home:
Materials You’ll Need:
- Acrylic Sheets: You can find acrylic sheets at most craft stores. Choose the thickness and size you prefer for your charms.
- Designs: Create or choose the designs you want for your charms. You can draw them by hand, use digital art software, or print out images or drawings.
- Printer and Paper: If your designs are digital, you’ll need a printer and printable acetate sheets or transparency film.
- Cutting Tools:
- Craft knife or utility knife
- Cutting mat
- Scissors
- Hole Punch: To make holes for attaching jump rings or chains.
- Jump Rings: Small metal rings used for attaching charms to keychains, necklaces, or bags.
- Drill or Dremel (Optional): If you have a lot of holes to make or want a cleaner look, a small drill or Dremel tool with a drill bit can be useful.
- Sandpaper: For smoothing the edges of your acrylic charms.
- Mod Podge (Optional): For sealing and protecting your printed designs.
Instructions:
1. Design Your Charms:
- Create or select the designs you want for your acrylic charms. You can use software like Adobe Illustrator or Canva to design them.
2. Print Your Designs (If Digital):
- If your designs are digital, print them onto printable acetate sheets or transparency film. Make sure to print them in the actual size you want your charms to be.
3. Prepare Your Acrylic Sheets:
- Cut your acrylic sheets into the desired shape and size for your charms using a craft knife or utility knife. Use a cutting mat to protect your work surface.
4. Attach the Printed Designs (If Printed):
- Apply a thin layer of Mod Podge to the printed side of your design and carefully press it onto the acrylic sheet. Smooth out any air bubbles and let it dry.
5. Cut Out the Charms:
- Using your craft knife or scissors, carefully cut out the shapes of your charms. Be precise, and take your time to get clean edges.
6. Make Holes:
- Use a hole punch to create holes in the charms where you want to attach jump rings or chains. If you have a drill or Dremel, you can use it for more precise holes.
7. Smooth the Edges:
- Use sandpaper to smooth the edges of your acrylic charms. This will give them a polished look and prevent sharp edges.
8. Add Jump Rings:
- Insert jump rings through the holes you created in your charms and attach them to keychains, necklaces, or other accessories.
9. Finish and Seal (Optional):
- If you want to protect your designs, you can apply a thin layer of Mod Podge over the front and back of your charms and let it dry completely.
10. Enjoy Your Acrylic Charms:
- Your homemade acrylic charms are now ready to use. Attach them to your favorite accessories or give them as gifts to friends and family.
Creating your acrylic charms at home allows you to personalize your accessories and express your creativity. Experiment with different designs, shapes, and sizes to make unique charms that suit your style.
